The aerodynamics of a F1 rear wing
CFD explained in Motorsport
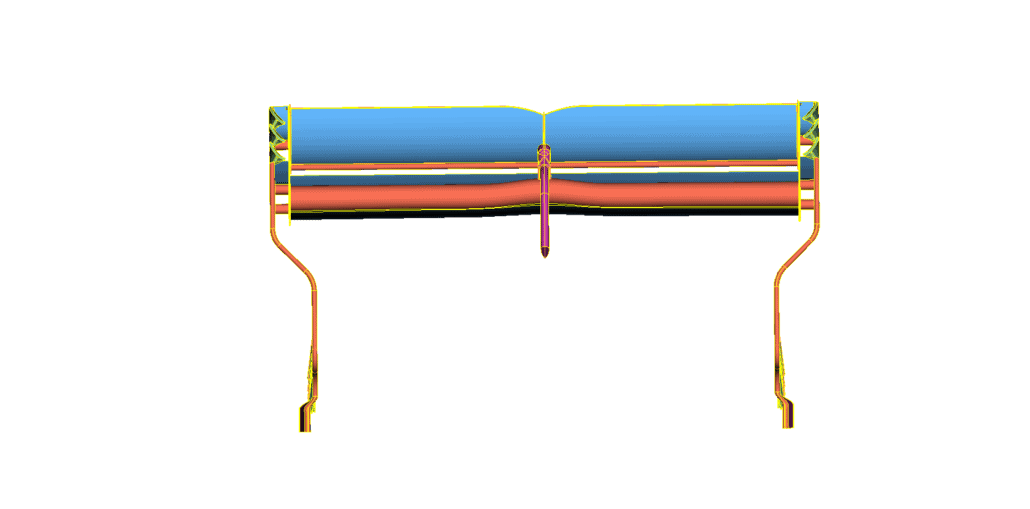
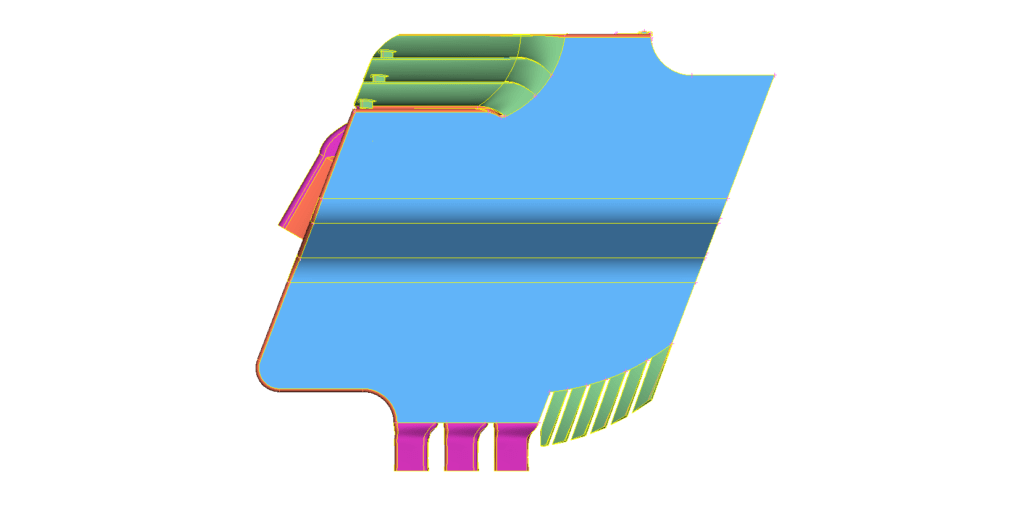
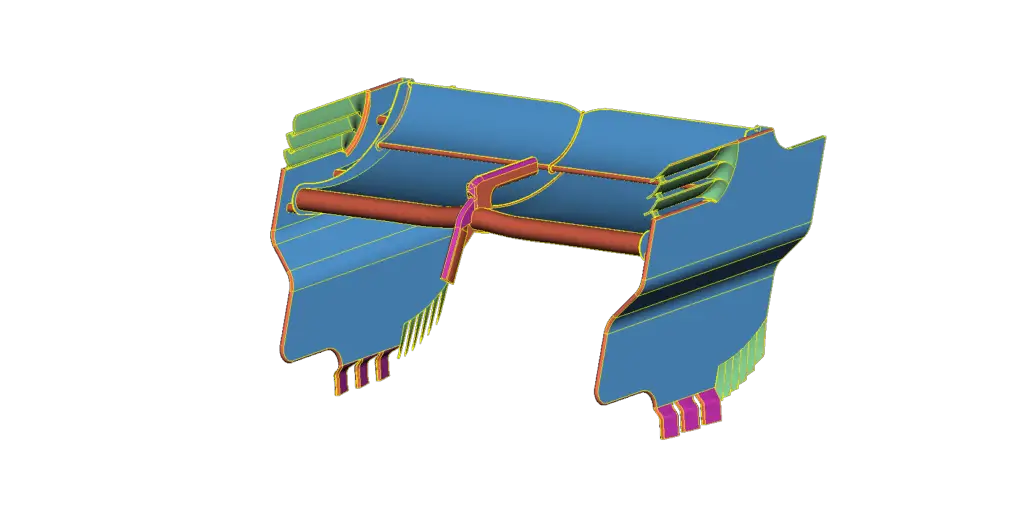
A CFD analysis of 2017 Red Bull has been performed. The CAD model has been donwloaded from GrabCad, with the geometry which has been consequently fixed for meshing purposes.
The components of a rear wing of a F1.
The rear wing of a F1 has the aim to generate downforce to counterbalance the downforce produced by the front assembly. In fact, the force distribution alongside the vehicle determines the overall balance of a car. The rear wing of a F1 generates about ~10% less downforce than the front wing. In fact, the rear wing works differently from the front wing:
- The rear wing does not work exploiting the ground effect
- The rear wing works with disturbed flow beacuse of the front assembly/wheels interaction with the flow.
Which are the main components of a F1 rear wing?
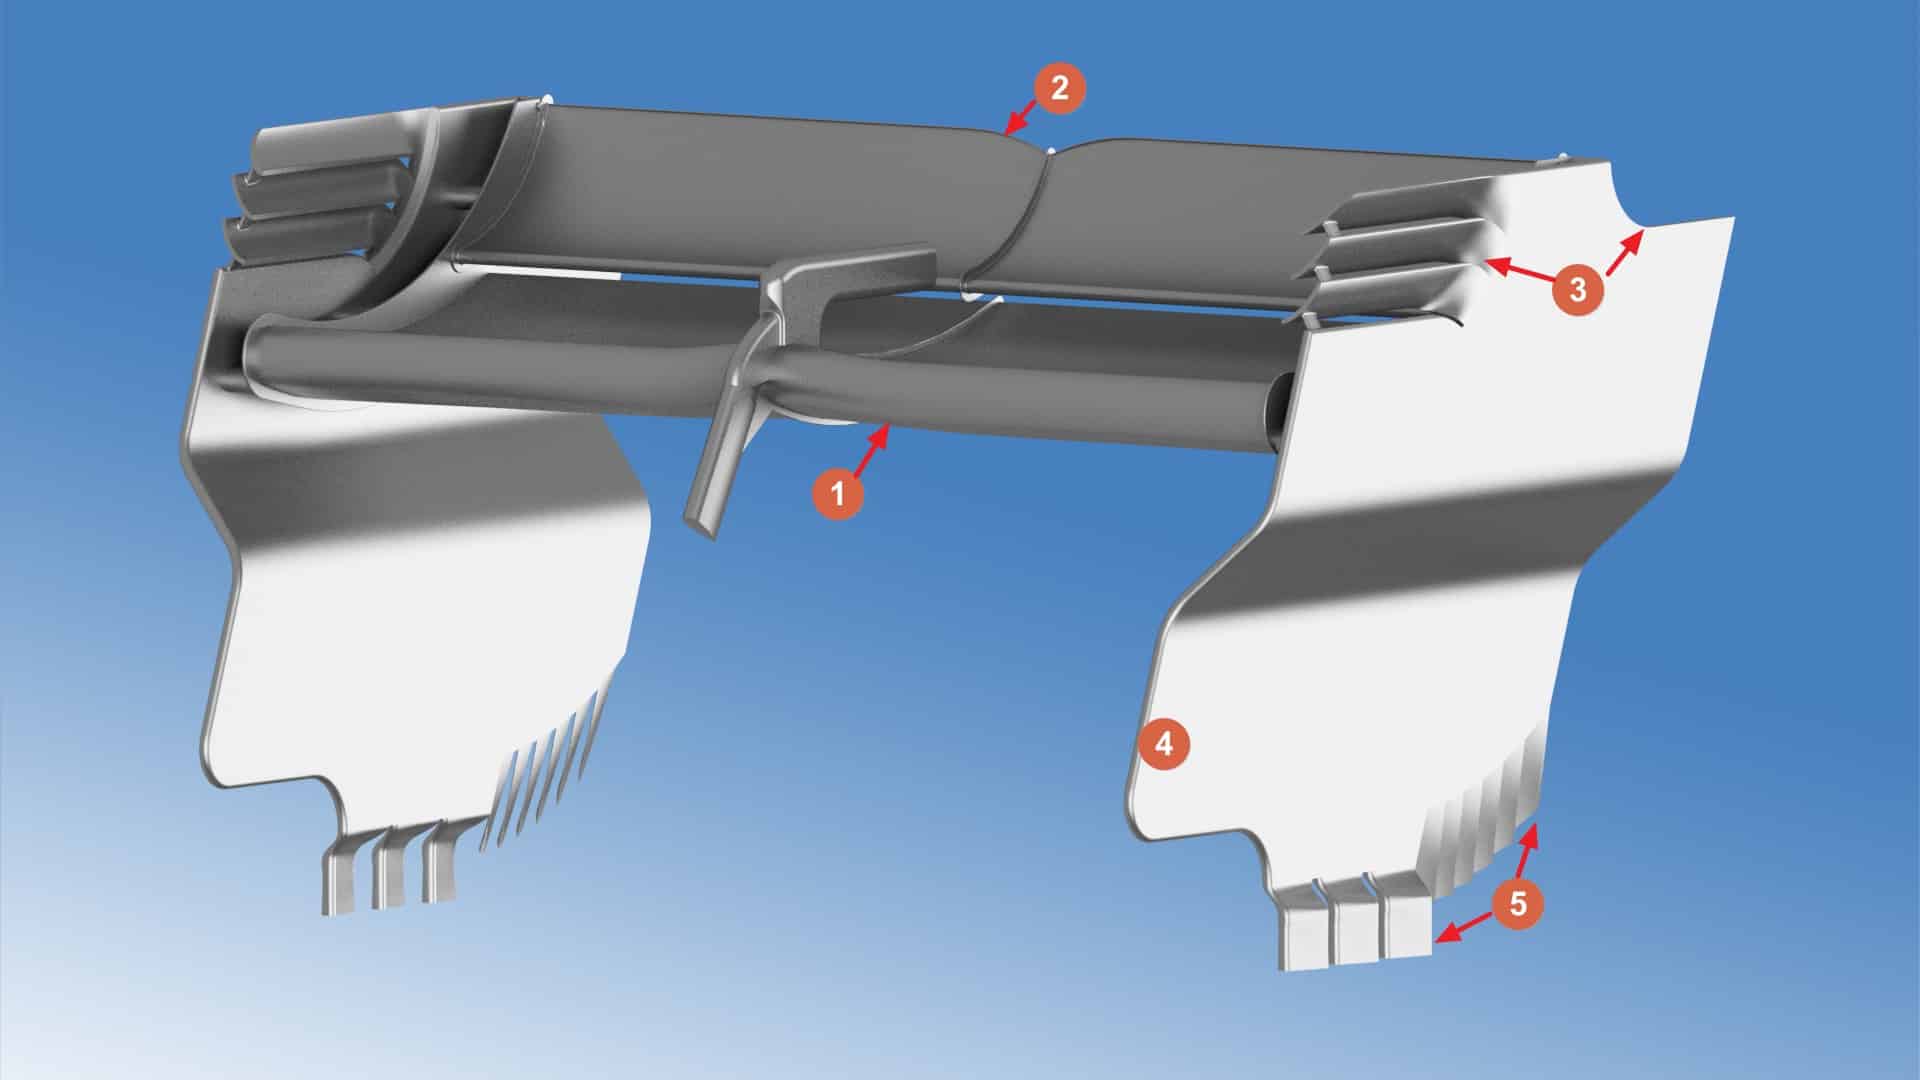
As reported by the picture above, we can highlight:
- A main plane: the thicker profile of the rear wing assembly. This part remains fixed when DRS is open.
- Flap: the smaller profile which acts as a slotted flap increasing downforce and preventing flow detachment. This part is moved and opened by the DRS system (check how DRS works here). Main plane and flap are connected by means of fishbones. As you can see a trim on the flap is present in proximity of a fishbone because, otherwise, the flow tends to separate easily.
- On the top part of the endplates (the lateral plates), we have some louvers/gills. These opening can have different shapes (horizonal openings or also curved).
- Middle trim: this part of the endplate, is sometimes trimmed in order to better drive the flow coming from the wheels and the bodywork.
- Bottom trim/louvers: These louvers located in the lower part of the endplates are designed to work efficiently with the rear diffuser and exhaust gas.
CFD preparation for analyzing F1 rear wing aerodynamics.
The results of the simulation are only for explanatory purposes. In fact, a number of approximations are introduced as:
- To inspect the aerodynamic of a F1 car, a full vehicle model should be implemented. Aerodynamics is fundamentally non-linear so a standalone component performs different when integrated in a complete model.
- The wind tunnel box is not as large as it should be (for computational resources). In fact, the wind tunnel inlet should be at least at 15 times the characteristic length of the object (i.e. the chord of the wing) while the outlet at least 25 times the chord far from the model.
Which are the steps to prepare a CFD model for F1 rear wing aerodynamics?
The steps to prepare a CFD simulation are, in general, the following:
- CAD model preparation: geometry fix and clean-up in order to prevent the mesh to get inside the model.
- Surface Meshing: Surface mesh generation with different levels of refinement according to detail goal and computational resources
- Volume meshing: the surface mesh is extruded in order to fill the volume.
- Boundary condition setup: the boundary are set for each part of the model. Usually, for cold-steady state CFD simulations inlet, outlet and wall type (slip or non-slip) boundary condition are set.
- Selection of the simulation type and turbulence model: The kind of simulation is chosen (steady or transient) and then the turbulence model is set (for example k-e).
Here below you can see the meshing characteristics and the boundary condition for the simulation of the aerodynamics of a F1 rear wing (Red Bull 2017).
CFD model: Meshing characteristics.
- Total number of volume elements ~ 10’500’000
- The mesh type is mixed: prisms (penta) for the boundary layer and tetra for volume mesh with pyramids transition.
- The min surface length is of 2 mm with reduction factor of 0.5 (so the minimum length can fall to 1 mm)
- The total number of layers is 6, with a growth factor of 1.3. The first layer height is of 0.44 mm.
The estimation of the first height of boudary layer has been carried out with the flat plate approximation in order to obtain a y+ ~ 30-40. For a more complete insight of the boundary layer and y+ explanation, see this article.
CFD Model: Reference values and boundary condition.
- Inlet velocity: 50 m/s
- Reference Area: 0.23275 m^2
- Reference length: 0.4 m
- Turbulence model: k-e realizable All y+ treatment
- Boundary condition on Wind Tunnel sides: slip type
- Wind Tunnel sizes (m): 3 x 3 x 6
CFD analysis of the rear wing of a F1.
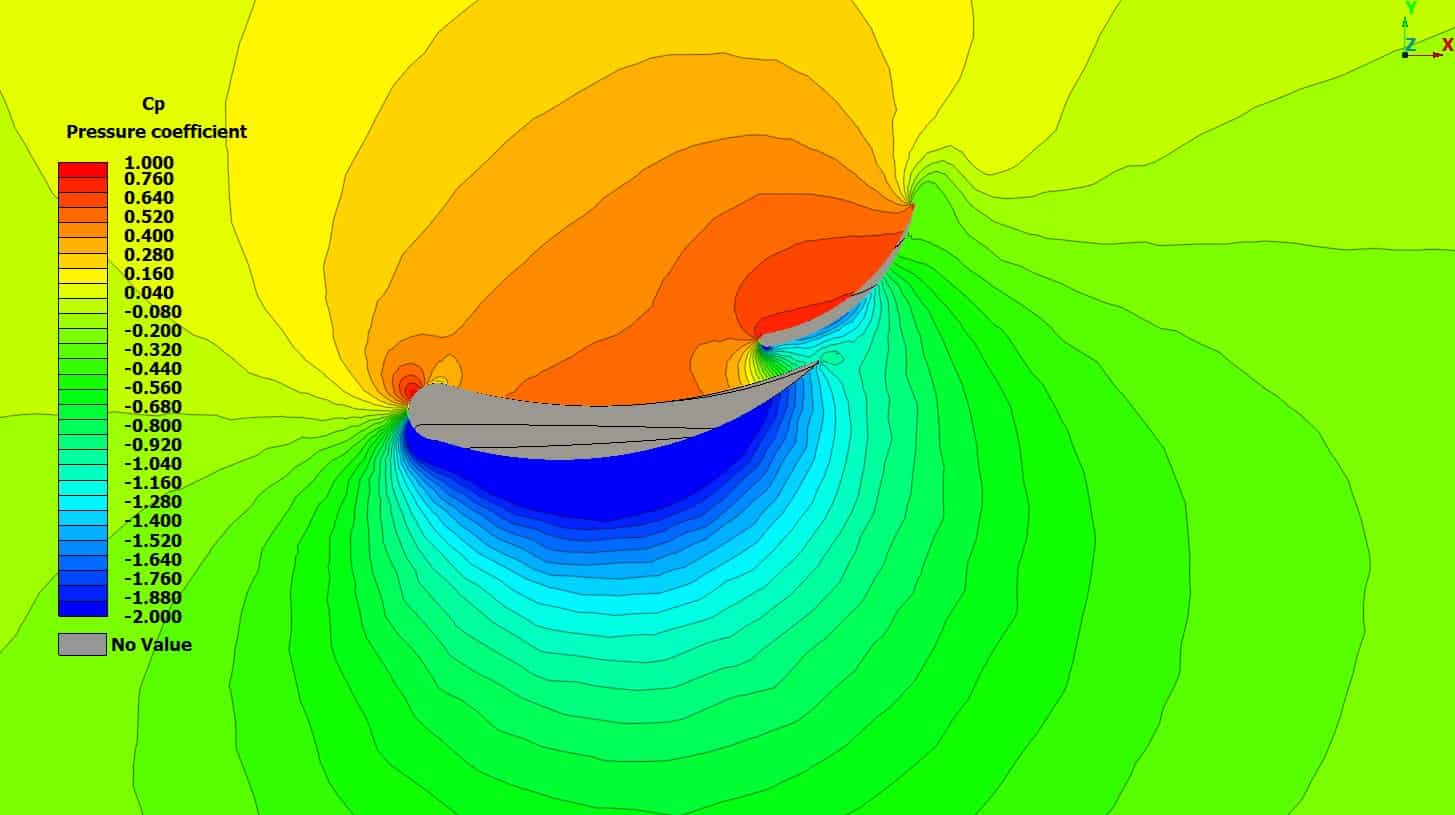
As expected, the upper part of the wing assembly is subjected to a high pressure coefficient (read area). High pressure means that the assembly is pushed down. The blue area denotes a low pressure area, the wing is literally “sucked” towards the blue region. Of course, the downforce produced is related to the angle of attack of the main plane and rear flap (the current configuration is of medium/high downforce).
Lift and drag coefficient of a F1 rear wing.
For the current model (standalone F1 rear wing) the following aerodynamics coefficient have been computed. To know more about aerodynamics coefficient, read this post (lift and drag coefficient explained).
Cd (drag coefficient)=1.33
Cl (lift coefficient)=-5.67
E (Efficiency) = Cl/Cd = 4.3
The wake produced by the rear wing of a F1 car.
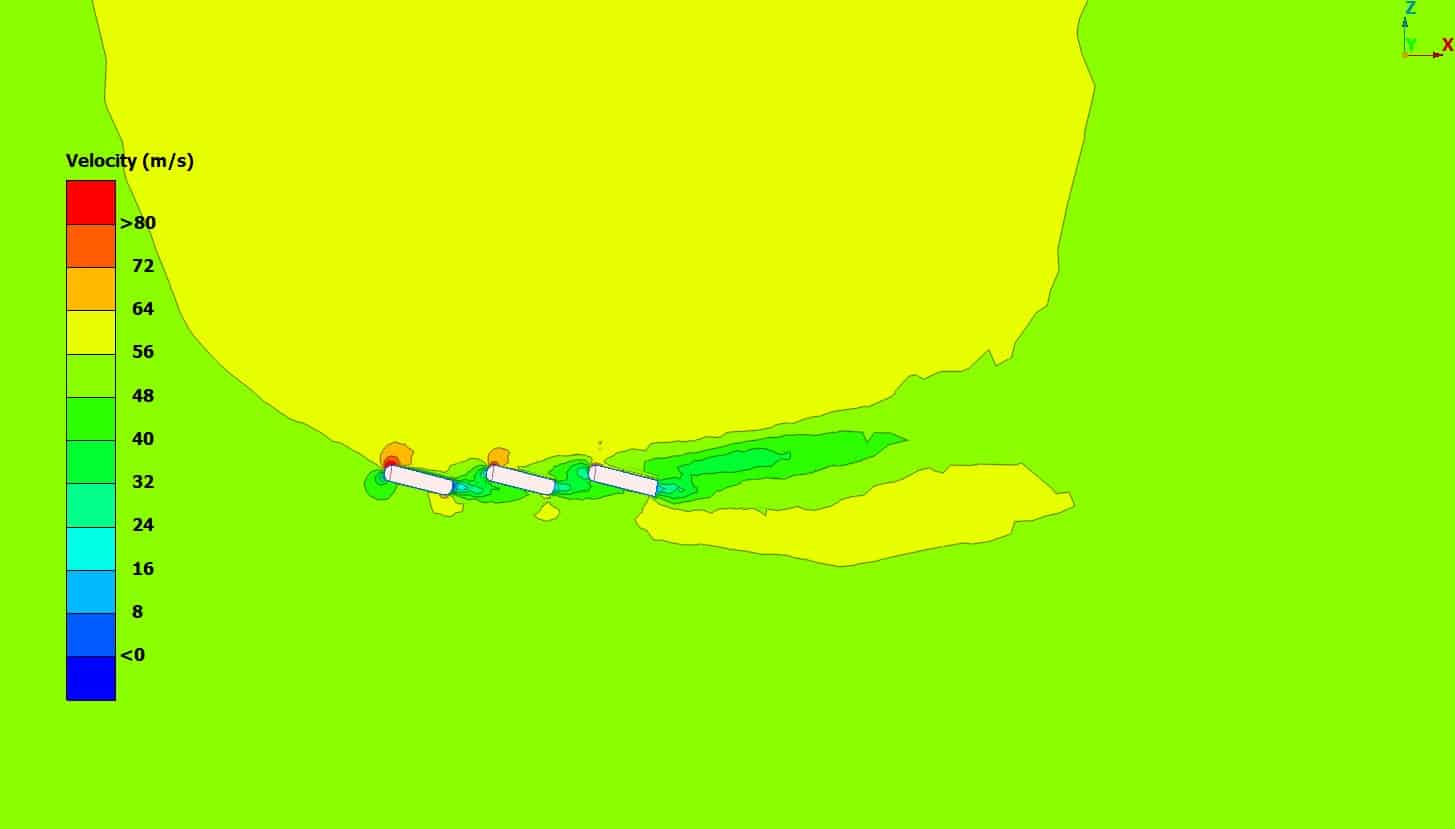
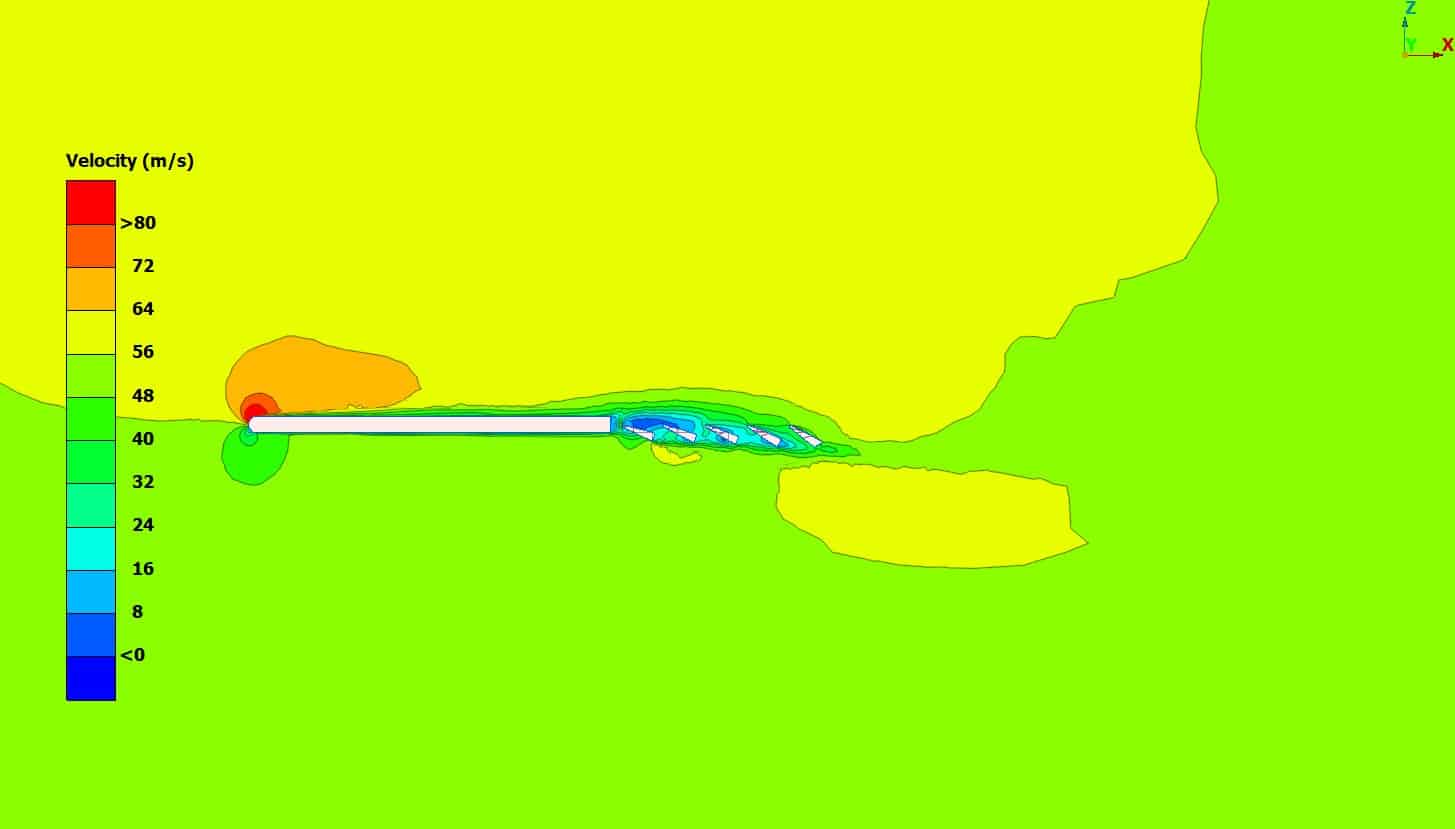
On the rear of the vehicle a low pressure area is generated. The aim of the engineer is to reduce this depression as much as possible in order to decrease the drag of the vehicle. When a vehicle follows another one, it feels this depression zone (if close enough). This area of depression is a low energy zone which is also referred as “wake region“.
The definition of wake.
It is common sense to define “wake” the enclosed region where the total pressure is equal to zero. This means that the flow has lost both its static pressure and dynamic pressure because of the disturbances it encountered (i.e. the disturbance is the car body). For more about the wake influence, check out artice about Why is it hard to overtake a truck rather than a car?
Streamlines visualization of a F1 rear wing.
The following image tracks the streamlines from the bottom/center plane of the rear assembly. This visualization can give an idea of the “upwash” effect introduced by the rear wing of a F1. We remind that for steady analysis the streamlines (lines tangent to the velocity vector) coincides with the pathlines. Moreover, it can be appreciated that on the lower part of the mainplane, the flow is accelerated (so the pressure locally drops – see also blue area on Cp plot). Similar path of the particles can be captured by cameras when cars race in wet condition. 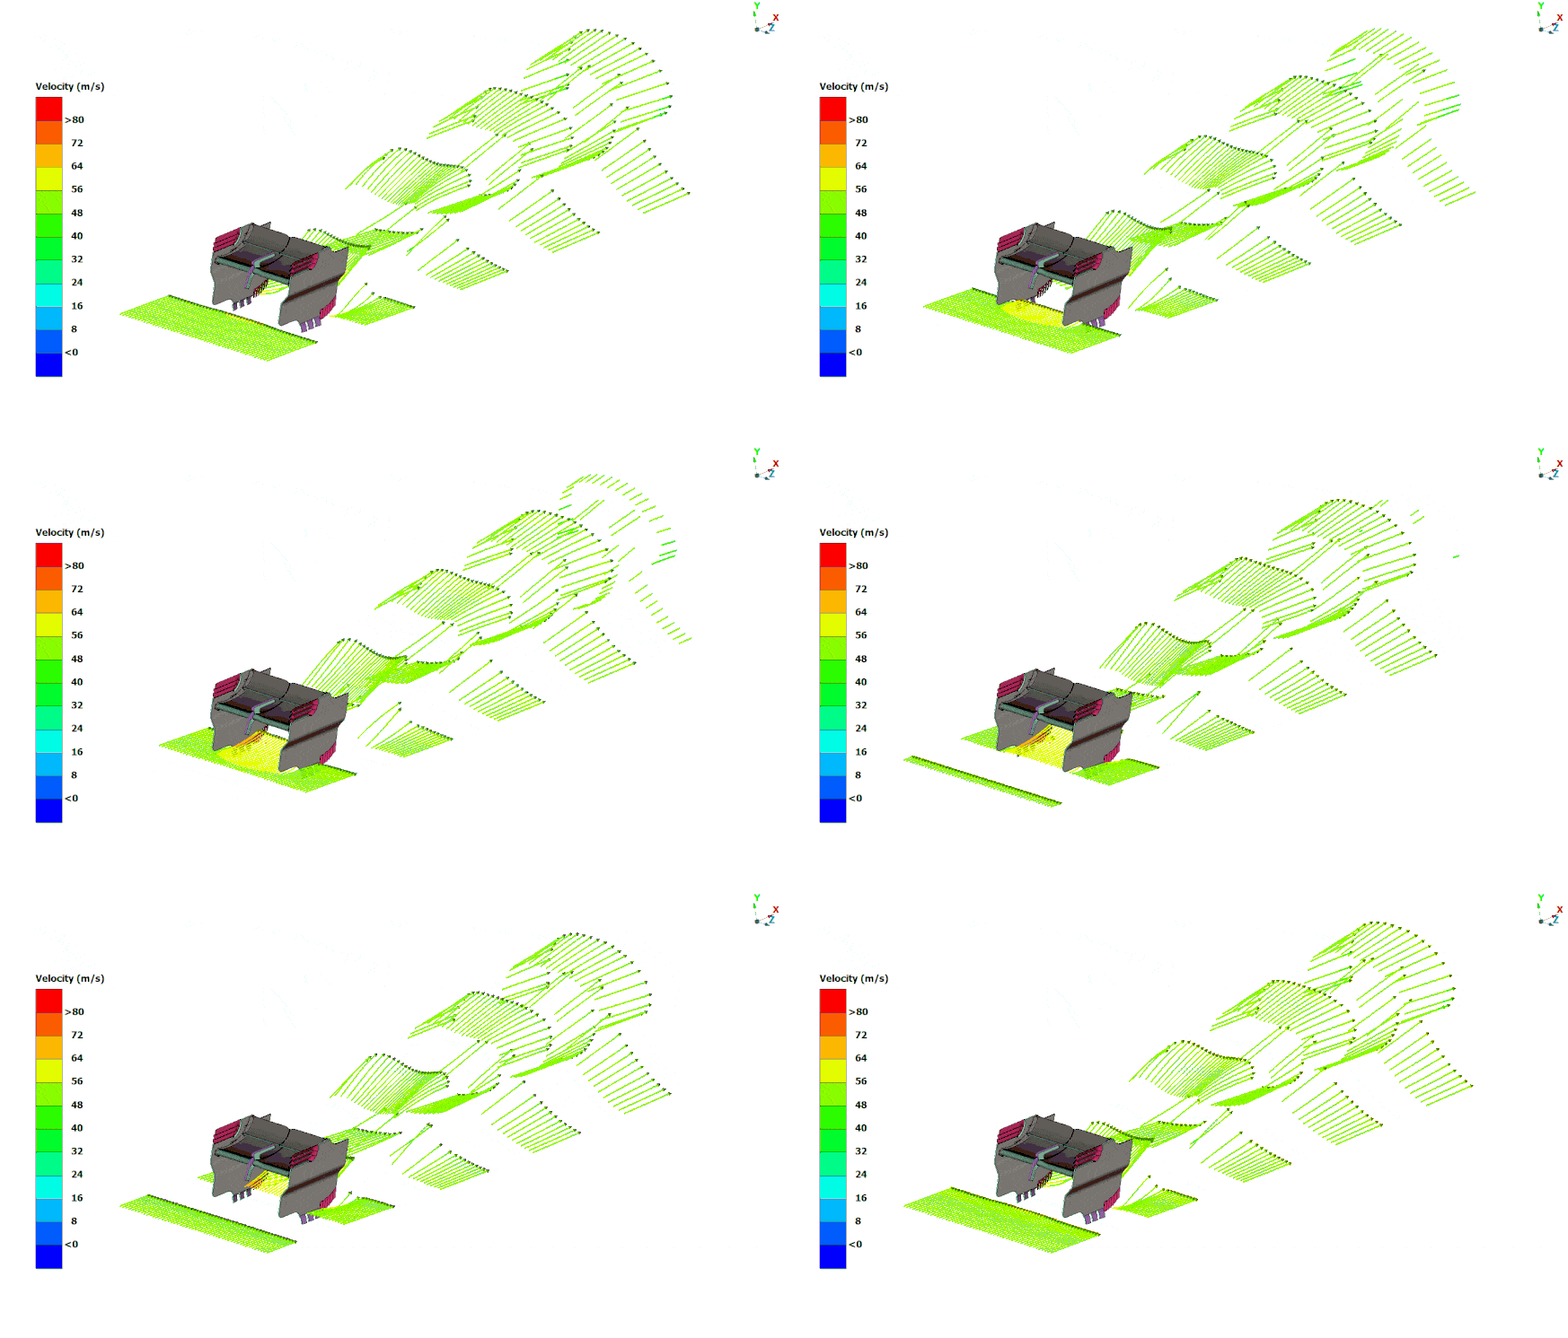
F1 rear wing design explained: top and bottom louvers.
The bottom louvers aerodynamics.
The bottom louvers of a F1 rear wing has multiple functions:
- Improve the interaction with the pressure field of the diffuser.
- Reduce the drag produced by the vortex of the endplates.
As we can see from the image above, the louvers (which in some cases are true aero profile) constitute a sort of channel to mitigate the pressure difference between the inner and the outer sides of the endplates. This feature, in fact, helps to reduce the intensity of the tip vortices. In fact, the higher the tip vortex the higher is the drag produced. Moreover, a strong vortex tip also alters the effective angle of attack of the flow decreasing the downforce produced. In case you want a more in depth explanation of vortex intensity-drag, read our article about (How lift and drag force are generated in Racing cars).
The top louvers aerodynamics.
As the bottom louvers, the upper ones have the function to reduce the vortex intensity. In some cases, the vorticity is further reduced by a complex interaction of couter-rotating vortices (one clock-wise and the other couter-clockwise). Redution of turbulence is also important in yaw condition: when a too much turbulent flow develops, also the car stability tends to suffer. Yaw stability is improved by a rounded leading edge of the endplate (you can see it on the red area of the image above).
Upwash effect in a F1 rear wing.
In this last section we report the streamlines in the centerline section of the rear wing. This kind of analysis are the strong benefits carried by the CFD (computational fluid dynamics) simultion since this tool greatly reduces the developmente costs.
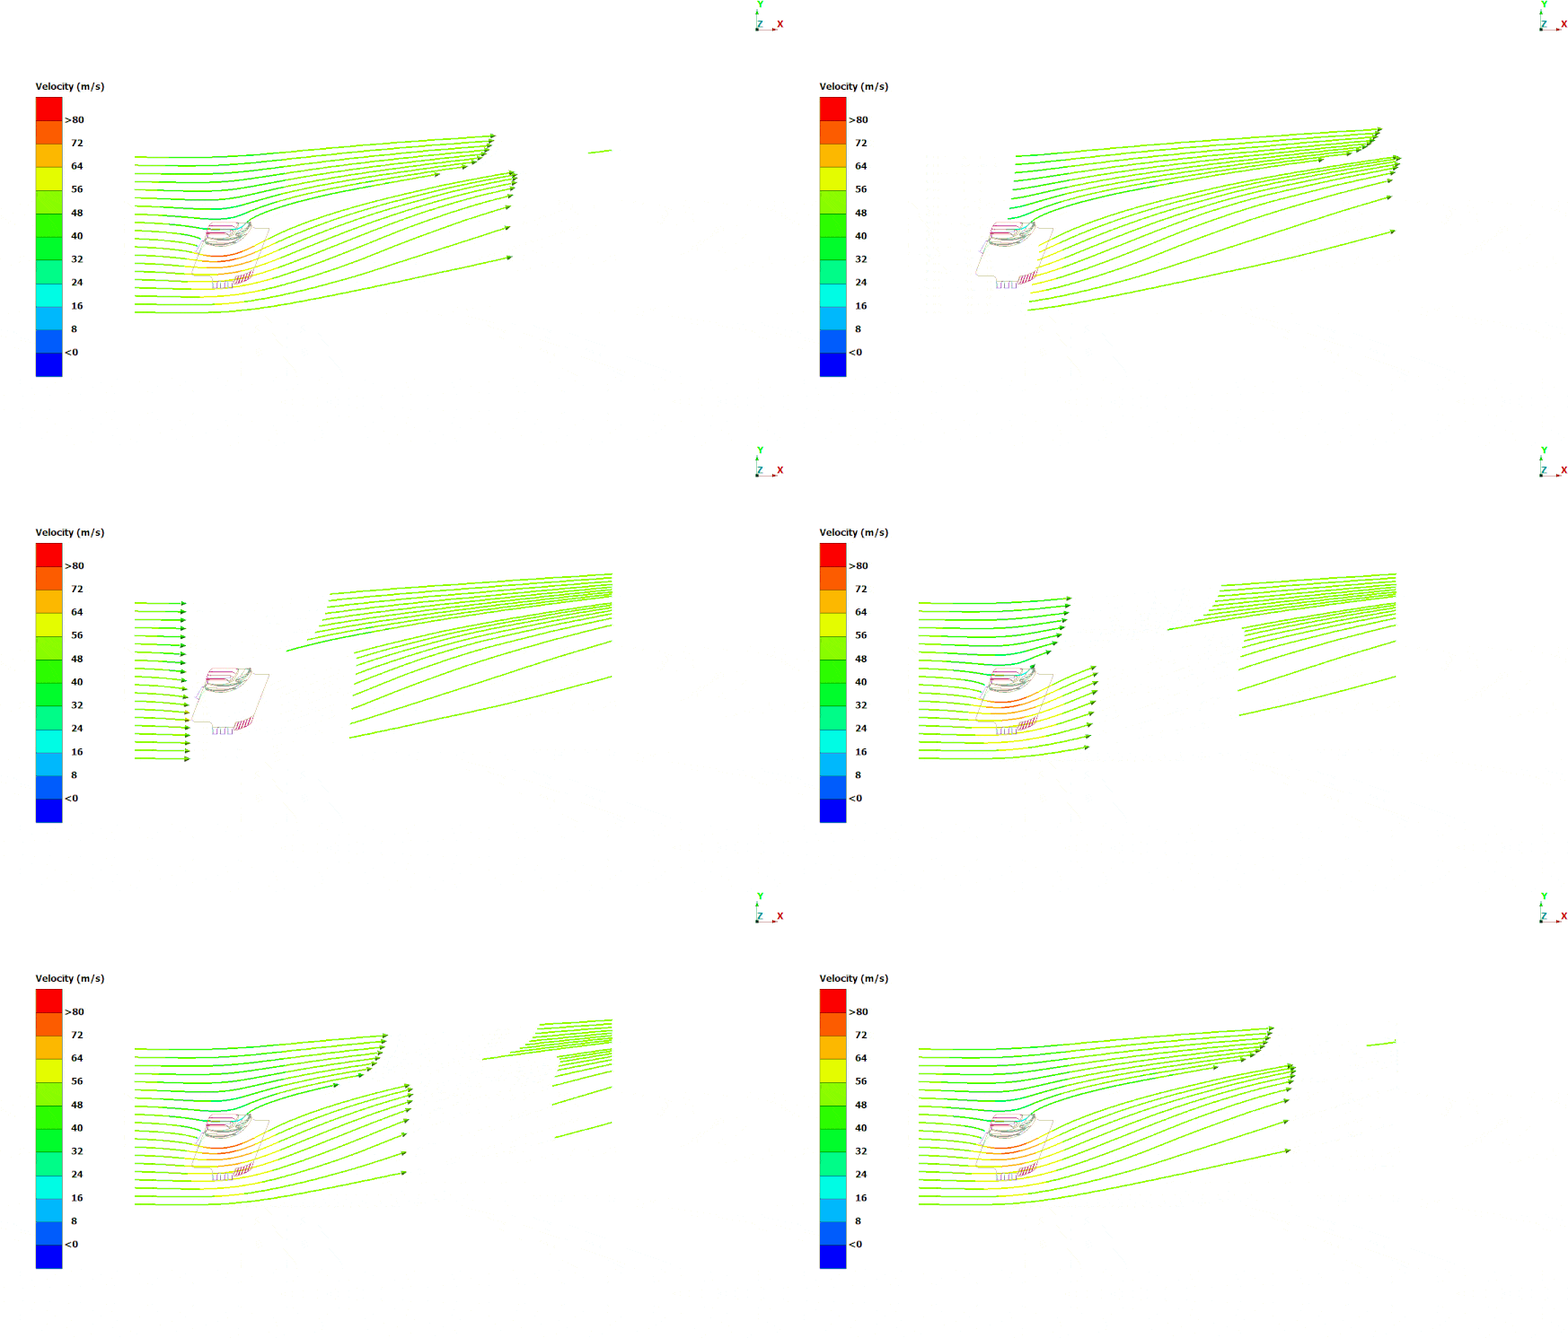 The upwash deviation of the flow is very evident. The downforce generation can be easily explained by the action reaction principle (Newton’s 3rd law). The flow is pushed upward by the rear wing, whicle the wing is pushed downward. As you may appreciate by the color of the streamlines, the flow accelerates on the lower part of the wing profile while decelerating on the upper part. As a rule of thumb, when dissipation is negligible (i.e. attached flow) the Bernoulli principle can be applied (for more about this read this post: Why do golf balls have dimples?
In case you liked the article, please share!

